


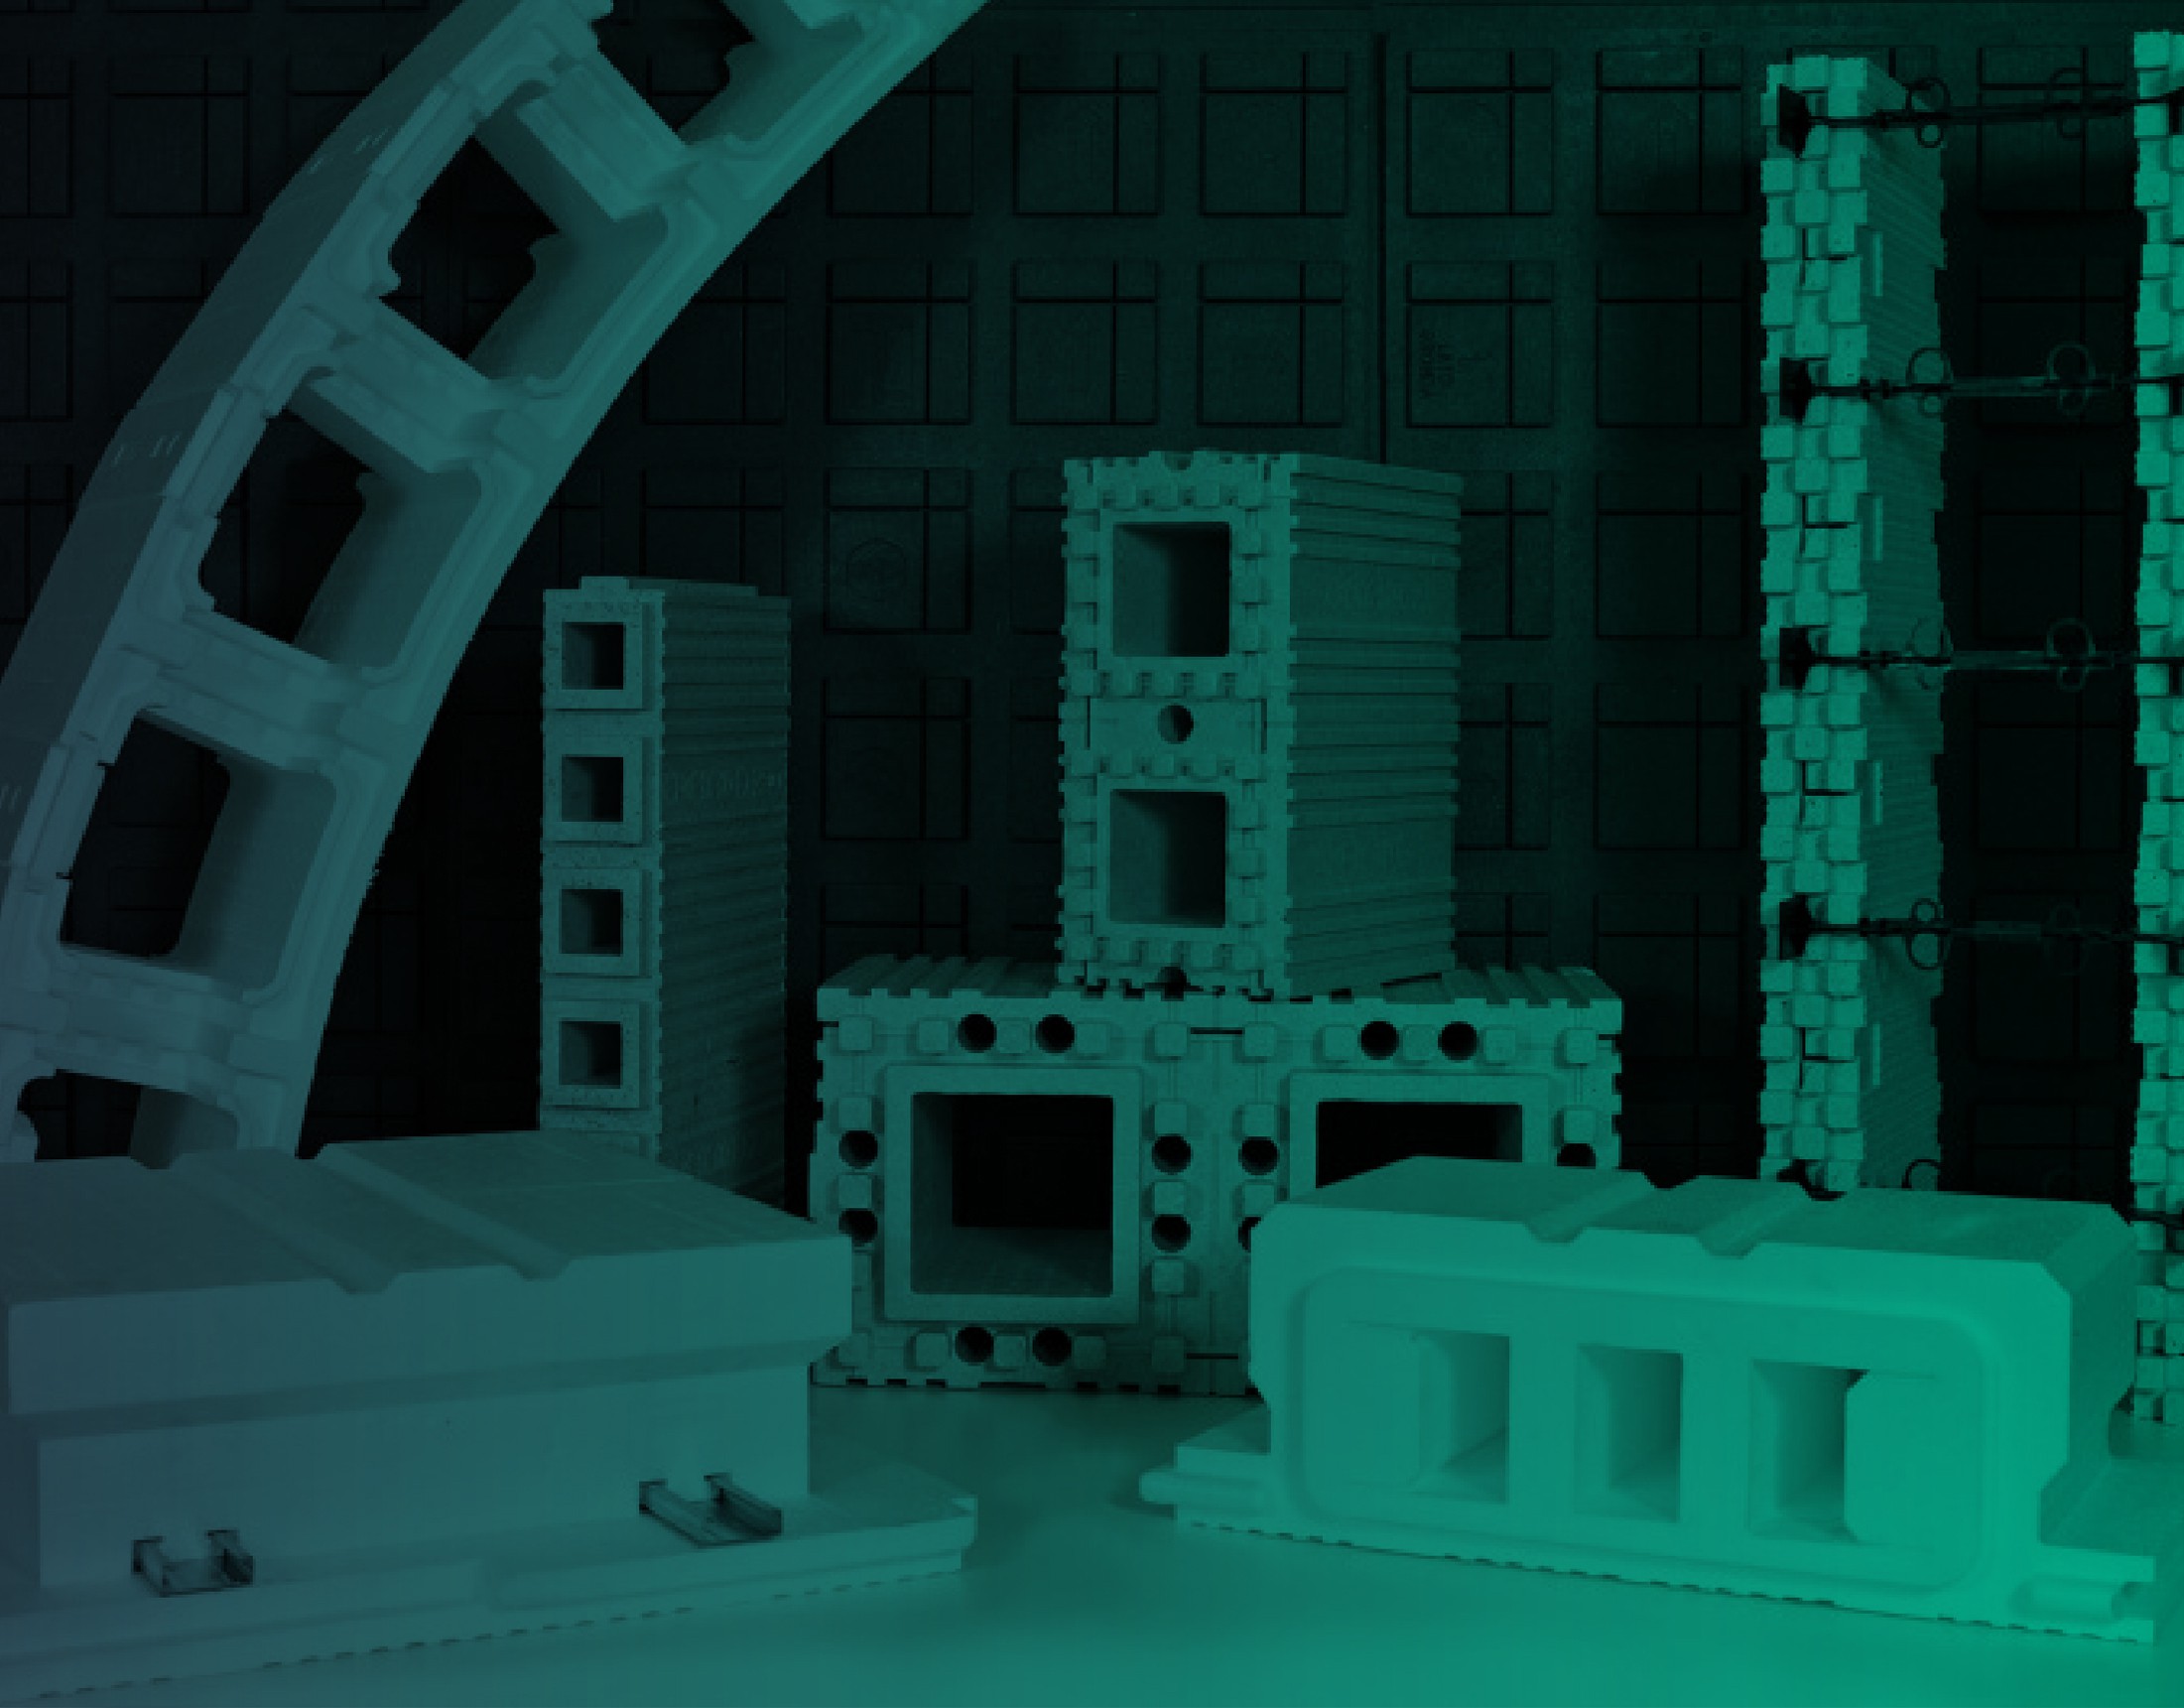
Laying the isolated walls
The first thing to do is contouring the walls: position the panels (both the internal and external ones) starting from the angles and proceeding towards the centre of the walls, taking care of placing the spacers as well.
To obtain the desired measure, you need to cut the middle panel with a saw (either electric or a handsaw). It is a simple operation as the panel are all the same, both the internal and external ones, even along with the angles and the continuous wall.
Once you reached your project’s proportion, insert the vertical iron bars in their dedicated slots.
After the work supervisor carefully verifies everything is in place, you can proceed with pouring the concrete. This should be decided by the planner, with S4 fluidity, and should be poured horizontally from 1 metre on all the walls’ perimeter. Once you complete the first passage, you can directly proceed with the next one, starting all over again. The entire procedure is rapid.
Laying the unidirectional floor
The buildings built using our ED2 system can have any floor: from the wooden to the concrete ones, including structures partially and made of iron.
Our floor guarantees high performance, extreme lightness, total modularity and cost optimisation.
- Make a plain horizontal workstation of 50 cm total length compared to maximum floor light.
- Position the first two hollow brick by joining them together.
- Take the two C profiles and insert them in their specific slots. The 10 cm of the metallic elements should come out of the first hollow block.
- Keep placing the other hollow block until you reach the desired length.
- You should put some polyurethane foam between their slots and their metallic profiles every five hollow blocks. Please remember to make 10 cm of the profile come out of the hollow block.
- Once you created the skewer, raise the element and cast it by handling the metallic profiles coming out of it. Once you insert the first one, repeat it with the next ones, until you reach the width required by the project.
- Remember to insert the steel bars – with a diameter of 8 mm and 15-18 cm in length – in their slots, which can be found laterally in the hollow blocks, one per linear metre, to create the spacer for the longitudinal iron bars which should be placed after the polystyrene formwork.
- Place the longitudinal iron bars are required by the project, being careful to place them gently on the metallic spacers.
- Start pouring the concrete, ensuring that this would go on the surface of the hollow block and then go in the batten’s lodging. Do not cast directly on the joint area between two battens so to avoid the polystyrene underneath breaks.
Laying the internal partition walls
The internal partition walls of the building need to guarantee the best insulation and most robust resistance to seismic activities. The partition wall should be light and correctly anchored to the structure. The casting is simple and incredibly quick.
Laying the facilities
To proceed with the laying of the facilities, you only need to have a jigsaw, then cut along the set-out lines and take out the small polystyrene stripe. The insertion of the tubes – corrugated for the electrical system, or insulated for the thermal one – is going to be extremely easy. A proper application of polyurethane foam allows restoring insulation.
The 8 mm of thickness of the internal panel is crucial since it is the only thickness which ensures a proper covering of the insulating material, as well as safely secure the pipework from accidental punctures. The panel thickness holds the electrical boxes (even the junction boxes), the manifolds of the sanitation systems as well as the water explosion ones such as Geberit’s. The thermal and electrical facilities have their place in the insulating layer, therefore building the walls is going to be extremely quick, with no need for special tools, and very little waste.
Laying the external finishings
You can use premixed plaster, and you can cast it either by hand or using an aiding tool. We offer a fibre-reinforced type specially crafted in our laboratories. The most frequent alternative is the skimming, which is generally applied on thermal walls: skimmable filler, polyester mesh application, the second layer of skimming and then coloured finishing.
You can also use coatings applied directly with some concrete-base adhesives, exposed bricks or covering stones; there are no limits.
Laying the internal finishings
You can use any premixed plaster for the internal finishings as well, and you can apply it by hand or with the aid of any tool. We suggest you use the giber-reinforced type. There won’t be any problem related to the anchorage: the panel’s relief stripes helps with that, make sure your mix is appropriately prepared and reduce the water in it since the support cannot take it too much.
When using low-quality plasters, you might need to apply a layer of acrylic resin with a brush or a roller before you spray the plaster.
Some people prefer applying some skimming (the ones used for the insulation) as an anchorage point, then lay the plaster with a machine.
The most used alternative is using plasterboard panels, which are directly anchored to the spacers through standard self-piercing screws.
The frequency of the plastic supports (which are simply spacers in the assembling phase) it’s just the one in the plasterboard panels.
This means there is no need to place any metallic structure, which makes it even more practical.
WANT MORE INFORMATION? REQUEST A FREE CUSTOMIZED CONSULTATION
What does our personalized consultation include?
- Analysis of your current workflow: We will assess your current construction processes and identify areas for improvement.
- Analysis of structural typologies: We will analyze the types of structures you typically design and build to identify specific needs and challenges.
- Analysis of critical points of your current construction system: We will pinpoint areas where your current construction system could be improved to enhance efficiency and reduce risks.
- Solutions to streamline design and construction phases: We will propose tailored solutions to streamline your design and construction phases, reducing on-site timelines and risks while improving overall quality.
Our FREE TECHNICAL CONSULTATION will provide you with a comprehensive understanding of how to optimize your work, saving time and money through the use of the ED SYSTEM construction system.
Request a consultation and start making your work easier!


